1. Choose the Right Location
Before setting up your portable AC, pick the best spot:
- Near a window –Portable ACs need an exhaust hose to vent hot air outside.
- Close to an electrical outlet – Use a dedicated wall socket to prevent overloading.
- On a level surface – Place it on a stable floor to avoid tipping over.
- With enough clearance – Keep at least 300mm of space around it for proper airflow.
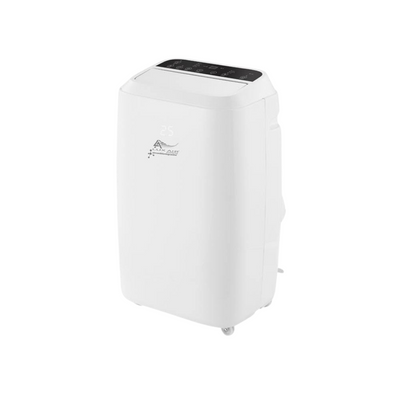
2. Unbox and Inspect the Unit
- Remove all packaging and protective film.
- Check that all accessories are included (window kit, exhaust hose, remote control, etc.).
- Inspect the unit for any damage from shipping.
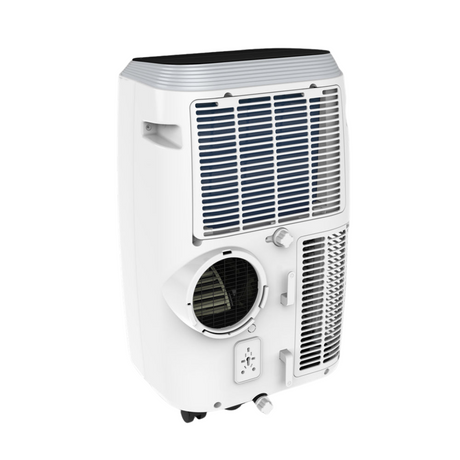
3. Install the Exhaust Hose & Window Kit
Most portable ACs come with a window venting kit, here’s how to install it:
Step 1: Measure the Window
The window kit is usually adjustable, but make sure it fits your window type (horizontal or vertical sliding windows).
Step 2: Attach the Window Panel
Place the window panel into the open window and adjust it to fit snugly. If needed, cut or extend the panel to match the window size.
Step 3: Connect the Exhaust Hose
Attach one end of the exhaust hose to the AC unit’s exhaust port. Secure the other end to the window panel opening. Ensure the hose is as straight and short as possible for efficient airflow (avoid sharp bends or kinks)

✅ Tip: If you have a casement window, you may need a special venting adapter or DIY a plexiglass cover.
4. Secure the Window and Seal Any Gaps
Close the window to hold the vent kit securely. Use weather stripping, foam, or tape to seal any gaps around the panel to prevent warm air from leaking back inside.
5. Plug in the AC Unit
Use a grounded three-prong outlet (avoid extension cords unless the manual permits one). If your unit has a reset button on the plug, press it before turning the AC on.
6. Set Up the Drainage System (If Required)
Most portable ACs evaporate moisture automatically, but some may need draining:
- Self-evaporating models – Usually no drainage required.
- Gravity drain models – Attach a drain hose to continuously remove water.
- Manual drain models – Check the water tank and empty it when full.
✅ Tip: If you live in a very humid area, expect to drain the tank more often.
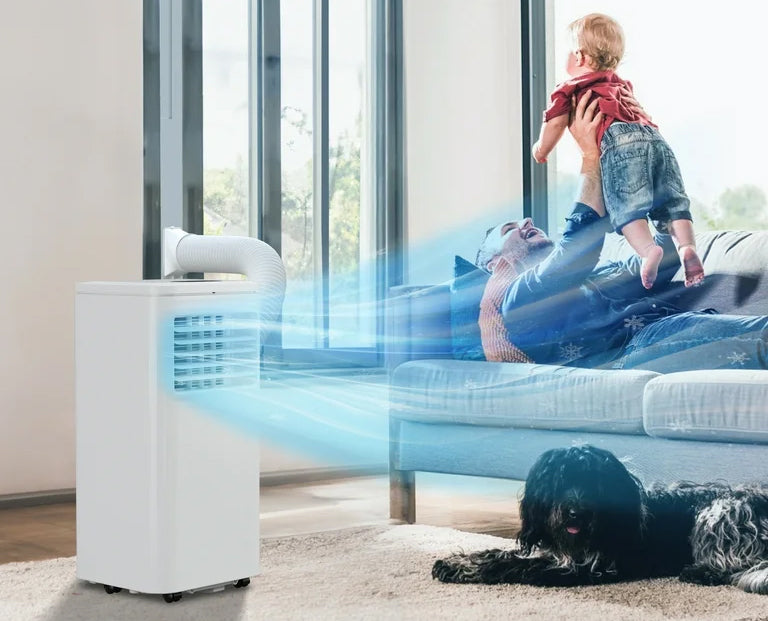
7. Power On and Adjust Settings
Once everything is set up:
- Turn on the unit and set the desired temperature.
- Adjust the fan speed and cooling mode (Cool, Fan, or Dehumidify).
- Direct the air vents for better circulation.
- Use the timer function if you want automatic shut-off/on.
8. Maintenance and Cleaning Tips
To keep your AC running efficiently:
- Clean the air filter every 2 weeks (or as recommended in the manual).
- Check the exhaust hose for dust buildup or blockages.
- Drain excess water if the unit stops cooling properly.
- Store properly during off-seasons (clean, drain, and pack it in a dry place).
Troubleshooting Common Issues
🛑 AC not cooling properly?
- Check if doors/windows are closed.
- Ensure the exhaust hose is installed correctly.
- Clean the air filter.
🛑 Unit keeps shutting off?
- Check if the water tank is full.
- Ensure the power outlet is working properly.
🛑 Excessive noise?
- Make sure the AC is on a flat, stable surface.
- Inspect the fan and vents for obstructions.
Buying a portable air conditioning unit online from CoolEasy
If you're looking to add one of these systems to your home, then look no further than CoolEasy's range of portable air conditioning units! With free UK delivery, get in touch with our expert team for more information!